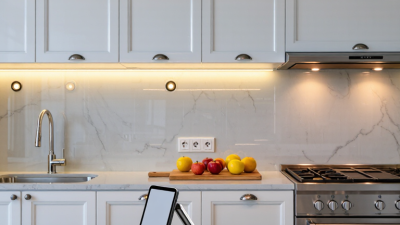
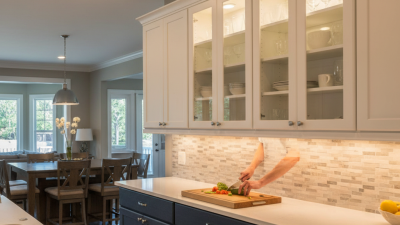
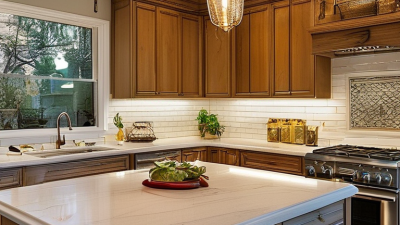
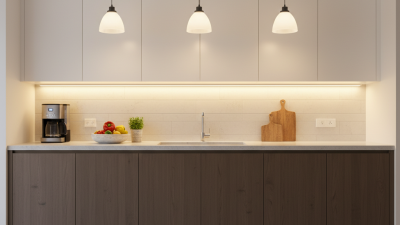
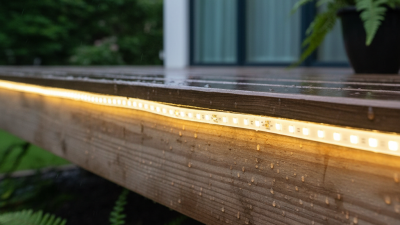
Under-cabinet LED lighting places a controlled strip or compact fixture beneath kitchen cabinets, where it brightens worktops without relying only on ceiling lights. It can make chopping herbs, reading a recipe, or finding a dark corner of the counter easier. The system usually combines LED chips, a housing, wiring, and a power supply. Small detail matters.
When electricity reaches the fixture, a driver regulates the current supplied to the LEDs. The chips convert that electrical energy into light, while a diffuser or lens helps spread it across the counter. Some products plug into an outlet; others connect to household wiring. Dimming and color temperature depend on the fixture and its controls, so two similar-looking strips may feel quite different in use.
The U.S. Department of Energy’s LED Lighting overview reports that LEDs use at least 75% less energy and can last up to 25 times longer than incandescent lighting. That comparison describes LEDs broadly, not every under-cabinet product. Actual results depend on design, operating hours, installation, and component quality. A dim corner may still remain if the fixture is too short or poorly positioned. That is worth remembering.
This guide explains what under cabinet led lighting is, how its parts work together, and what affects the light it produces. It also considers practical choices, such as fixture type, brightness, and installation. The technology is straightforward, but choosing well takes a little attention.
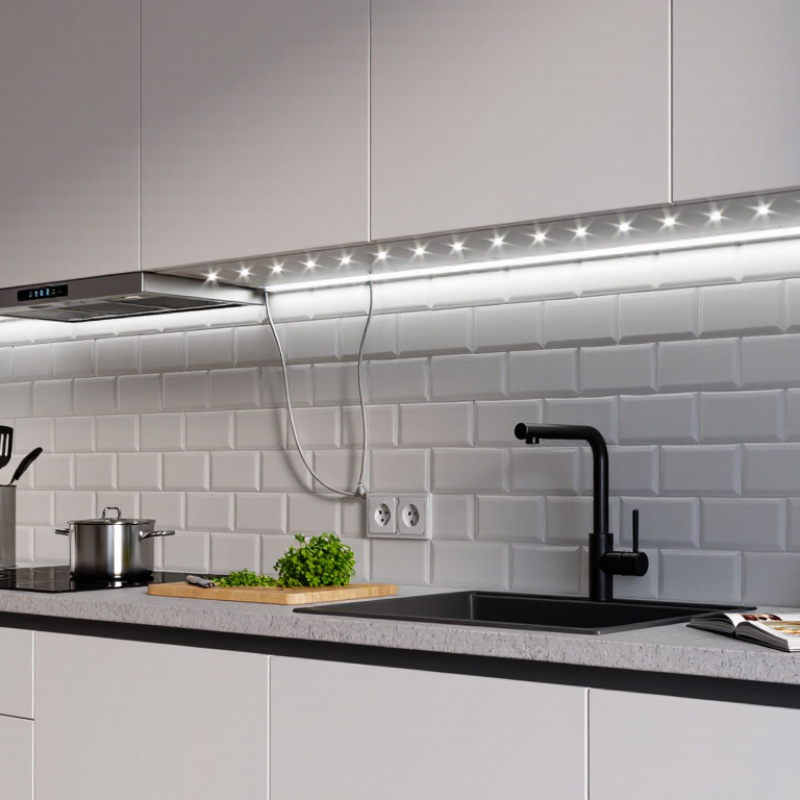
Under-cabinet LED lighting is a slim lighting system installed beneath kitchen cabinets, shelves, or work counters. It places light close to the surface that needs it. Unlike a ceiling fixture, it reduces shadows cast by your body. Small LEDs produce light through semiconductors rather than heated filaments. This design uses less energy and usually creates less heat. A typical system includes LED modules, a housing, wiring, and a switch or dimmer. Some models use a plug, while others connect to a low-voltage driver. The driver changes household electricity into a suitable operating current. That detail matters during planning.
The light spreads across countertops for food preparation, reading recipes, or checking small details. Color temperature changes the room’s feel. Warm white can appear comfortable, while neutral white often shows surfaces more clearly. Brightness depends on LED output, spacing, diffuser quality, and countertop color. A diffuser helps soften bright points. Poor placement can still create glare. I have found that even lighting often matters more than maximum brightness, although this is easy to overlook. LEDs also age gradually, so a fixture may become dimmer before it fails completely. Installation quality affects performance and safety. Loose connections can cause flicker or unwanted heat.
Tips: Measure cabinet length before choosing fixtures. Leave space for the driver and cables. Place the light toward the front edge, not deep against the wall. Test the color temperature beside your backsplash first. Use a dimmer when possible. It gives flexibility at night. Do not assume every LED system is interchangeable. Voltage, connectors, and control methods must match. If wiring enters the wall, consult a qualified electrician. Countertop reflection can make a bright light feel harsh.
| Aspect | What It Is | How It Works or Typical Details |
|---|---|---|
| Basic definition | Low-profile lighting installed beneath wall cabinets, commonly above kitchen counters or work surfaces. | It directs light downward to illuminate the counter and reduce shadows cast by overhead room lighting. |
| Light source | Light-emitting diodes (LEDs) mounted on a circuit board or inside a compact fixture. | An electric current passes through semiconductor material, producing light through electroluminescence. |
| Common fixture formats | LED tape or strip, rigid light bars, and small puck lights. | Strips provide a continuous line of light; bars offer a more enclosed fixture; pucks create separate pools of light. |
| Power and driver | A power supply or LED driver provides the electrical power required by the LEDs. | The driver converts incoming power to the voltage and current the LEDs need. Many low-voltage systems use 12 V or 24 V DC; some fixtures connect directly to mains power through built-in electronics. |
| Color temperature | The apparent warmth or coolness of the white light, measured in kelvins (K). | Common choices include warm white around 2700–3000 K and neutral to cool white around 3500–5000 K. The exact range depends on the fixture. |
| Color rendering | Color Rendering Index (CRI) describes how accurately a light source reveals colors compared with a reference source. | CRI 80 or higher is common for general household lighting; higher-CRI options, such as CRI 90 or above, can show colors more faithfully. |
| Brightness and efficacy | Brightness is commonly specified in lumens, while efficacy describes lumens produced per watt. | Output varies by product and installation. Compare fixture or system lumen ratings rather than relying only on wattage. |
| Task illumination | Light delivered to the countertop or another working surface. | Actual illuminance depends on fixture output, mounting height, spacing, counter color, and ambient light; a light meter can measure it in lux. |
| Dimming and controls | Some systems support dimmers, touch controls, switches, or motion sensors. | Dimming works only when the LED driver and control are compatible. Check product specifications to avoid flicker or limited dimming range. |
| Heat and energy use | LEDs generally use less electricity than traditional incandescent lighting for comparable light output. | LEDs still produce heat, which is managed through the fixture and its installation. Keep ventilation and mounting instructions in mind. |
| Installation considerations | Fixtures may be hardwired or powered by a plug-in adapter, depending on their design. | Measure cabinet runs, plan wire routes and switching, and follow the manufacturer’s instructions. Hardwired electrical work may require a qualified electrician. |