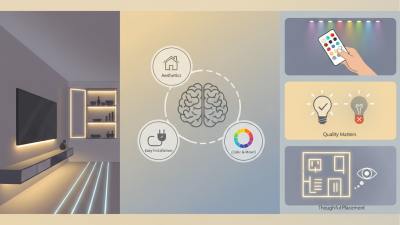
Choosing the best LED tape lights in 2026 is about more than color effects or a low price. The right strip should suit its location, deliver consistent light, and work with a compatible power supply and controller. A kitchen counter needs clear task lighting; a recessed shelf may call for a softer glow. Small details matter.
This guide compares LED tape options by brightness, color quality, color temperature, efficiency, and ease of installation. It also explains practical specifications, including lumens per meter, CRI, voltage, dimming support, and IP ratings. These numbers can look technical, but they help answer everyday questions: Will the strip look bright enough? Will white surfaces appear natural? Can it handle a damp setting?
There is no single best choice for every room. A high-output strip may be excessive in a bedroom, while a decorative model may disappoint above a work surface. Adhesive strength, cut marks, connector quality, and access to replacement parts can affect the final result, too. Often overlooked.
The recommendations consider common uses, from under-cabinet lighting to accent details, and point out trade-offs rather than treating every feature as essential. Product specifications can change, and manufacturer claims do not always reveal how a strip performs in a real installation. A little caution helps. Before buying, check the exact model’s instructions, required power supply, and installation limits. That simple check can prevent uneven light, overheating, or a setup that cannot be dimmed as expected.
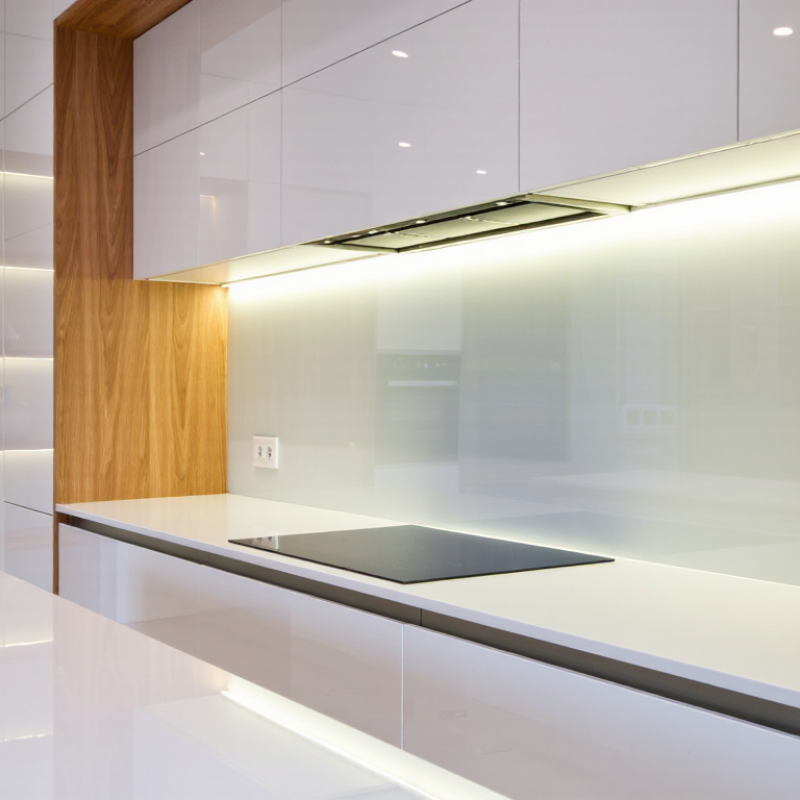
LED tape lights use small light-emitting diodes fixed along a flexible circuit board. When electricity reaches the board, each diode produces light through a semiconductor material. Built-in resistors help control current, while a suitable driver changes household power into the lower voltage many strips require.
The result is a narrow light source that bends around shelves, cabinets, stair edges, and ceiling details. Warm white tape can soften a bedroom or restaurant, while cooler white light often suits workshops and storage areas. For accurate colors, choose a high color-rendering rating. Brightness also matters, but more lumens can create more heat.
Heat is the detail people often underestimate. I have seen tape installed directly on painted wood, where it became noticeably dimmer over time. An aluminum channel gives the strip a better path for heat and creates a cleaner finish. It also reduces glare through a diffusing cover.
Moisture changes the decision. Dry indoor areas need basic protection, but bathrooms, kitchens, and outdoor spaces require suitable ingress protection. Cut only at marked points, and avoid exceeding the recommended run length. Longer runs may suffer voltage drop, causing the far end to look weaker.
Installation is rarely perfect. Corners, connectors, and hidden power supplies can challenge even careful planning. Measure twice. Leave access for repairs, because adhesive backing does not always survive dust, heat, or repeated cleaning.
When comparing LED tape lights in 2026, brightness is only one part of the decision. Check lumens per meter instead of judging the strip by appearance alone. A kitchen counter may need strong, even light, while a bedroom often benefits from softer output. High color rendering, preferably a CRI above 90, helps food, wood, and skin tones look more natural. Color temperature also matters. Warm white feels comfortable, but neutral white may be more practical for work areas.
Measure the installation path carefully. Dense LEDs usually create smoother lines, with fewer visible bright spots. For long runs, voltage drop can make the far end look weaker. I prefer dividing lengthy installations into shorter powered sections, although this can require more planning and wiring. Use aluminum channels when possible. They improve heat management and create a cleaner finish. Adhesive backing is convenient, but dusty walls and textured surfaces can defeat it quickly. Mechanical clips are less elegant, yet often more reliable.
Moisture ratings deserve attention. An IP-rated strip is not automatically suitable for every outdoor location. Confirm the rating, power supply, and connector protection together. Dimming compatibility is another overlooked feature; some controls create flicker or a limited brightness range. I once chose a visually attractive strip with excellent color quality, but ignored its difficult mounting system. Installation took twice as long. That mistake still influences my comparisons. Verify cut marks, replacement access, and electrical certifications before buying. Check the details.
How to compare LED tape lights: These illustrative priority scores (1 = lower priority, 5 = higher priority) are a general-purpose guide, not product test results. Match brightness, color quality, and protection to your intended use, and check compatibility with the power supply and dimmer.
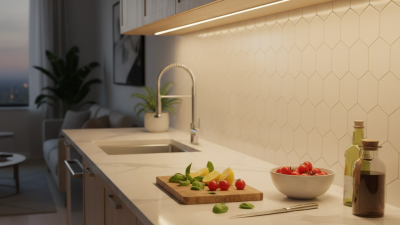
The right LED tape light depends on where it will go. For kitchen counters, choose a bright, dimmable strip with a high color-rendering rating. It helps food and wood surfaces look more natural. A diffuser can soften visible dots, especially on glossy countertops. Measure the full run before buying, and check whether the kit includes connectors for corners. Small gaps show.
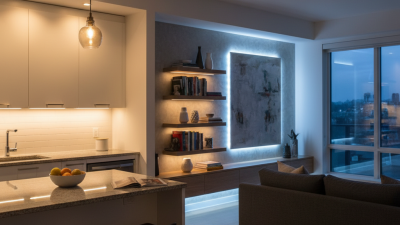
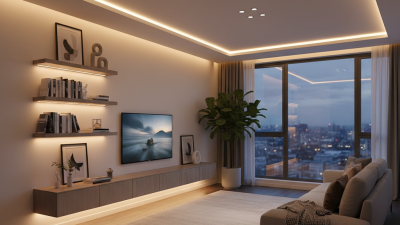
For shelves, cabinets, and display niches, lower brightness may be enough. Look for a strip that can be cut at marked points, then use suitable connectors rather than stretching it around sharp bends. In bedrooms or behind a television, adjustable white light can shift from crisp task lighting to a warmer evening glow. Outdoor installations need tape rated for the exposure and a power supply kept in a dry, protected place. Check the rating details; “water-resistant” can mean different things.
Tips: Clean and dry the mounting surface first. Test the lights before peeling off the backing. Leave room to reach the power connection later. Adhesive can fail on dusty paint, and I would not assume every corner will stay neat without a channel.
What Are the Best LED Tape Lights in 2026?
How to Choose the Right LED Tape Light for Your Project
The best LED tape light depends on the space, not the marketing label. Measure the run carefully, then choose brightness in lumens per meter. A soft 300–500 lumens per meter suits bedrooms and shelves. Kitchens and work areas may need 800 lumens or more. Select the color temperature carefully. Warm white feels relaxed, while neutral white shows details more clearly.
Check the LED density and strip width before buying. More LEDs usually create smoother, less dotted light. A high color rendering index helps food, wood, and fabric look natural. For bathrooms, patios, or covered outdoor areas, use suitable moisture protection. Indoor strips should not be placed where water can reach them. You also need a compatible power supply with spare capacity. Voltage drop can make the far end visibly dim, especially on long runs.
In my own installations, aluminum channels have improved heat control and produced cleaner lines. They also hide small placement mistakes. I once chose a strip that looked bright on paper but felt harsh under cabinets. The problem was poor diffusion, not low quality. That experience changed my selection process. Test a short sample beside the actual surface before committing. Review the technical sheet, safety markings, warranty terms, and installation limits. Specifications matter, but the room’s surfaces and your eyes matter too.
| LED Tape Light Type | Best For | Typical Power Setup | Light Output or Color | Typical Protection | Key Advantages | Things to Check Before Buying |
|---|---|---|---|---|---|---|
| Single-color SMD tape | Under-cabinet lighting, shelves, closets, and general accent lighting | Commonly 12 V or 24 V DC; use a compatible constant-voltage power supply | One fixed color, commonly warm white, neutral white, or cool white; output varies by product | Often IP20 for dry indoor locations; coated versions are available | Simple wiring, widely available, and easy to control with an on/off switch or compatible dimmer | Check color temperature, CRI, watts per metre, voltage, cut marks, and whether a suitable dimmer is required |
| High-density SMD tape | Task lighting and installations where a more continuous light line is preferred | Commonly 12 V or 24 V DC; power requirements depend on tape length and wattage | Available in single white colors and other configurations; closely spaced LEDs can reduce visible gaps | Varies by product; bare tape is generally for dry locations | More LEDs per metre can create a smoother appearance, especially when used with a diffuser | Confirm total power draw, heat management, compatible channel depth, and whether the LED points remain visible through the diffuser |
| COB LED tape | Visible runs, coves, and shallow channels where a smooth, dot-free appearance is important | Commonly sold in 12 V or 24 V DC versions | Continuous-looking light from closely packed LED chips; white and color options vary | Varies by model; check the stated IP rating and installation conditions | Can appear more uniform than widely spaced LED packages without a deep diffuser | Check the cut interval, bend direction, heat dissipation, connector compatibility, and whether the tape can be repaired or joined |
| Tunable-white tape | Rooms where adjustable white color is useful, such as kitchens, bedrooms, and workspaces | Usually requires a compatible multi-channel controller and power supply | Combines warm-white and cool-white LEDs to adjust white appearance; the available range is product-specific | Varies by product; choose a rating appropriate to the location | Lets users change the white tone without switching between separate fixtures | Verify controller compatibility, channel wiring, total load, color range, and whether dimming and color adjustment are both supported |
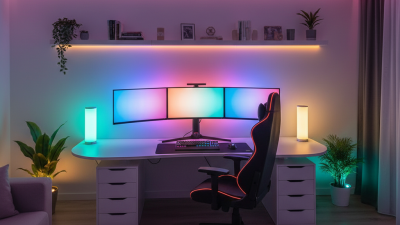
| RGB or RGBW tape | Decorative lighting, entertainment areas, and color-changing accents | Requires a compatible controller; RGBW models include a separate white channel | RGB mixes red, green, and blue; RGBW adds a dedicated white LED channel | Varies by model; many indoor versions are uncoated | Offers selectable colors and dynamic effects; RGBW can provide a more useful dedicated white mode | Check controller type, wiring, white-channel availability, power capacity, and whether the desired effects require a particular control system |
| Silicone-coated or sleeved tape | Locations exposed to occasional splashes or dust, when the product is specifically rated for that use | Voltage and power depend on the underlying tape; use a compatible supply and sealed connections where required | Available in several white and color configurations | May carry ratings such as IP65 or IP67; the rating applies only when installed as specified | Added covering can help protect the tape from dust or moisture in suitable installations | Check the exact IP rating, end caps, connectors, cut-end sealing, heat dissipation, and suitability for the actual exposure; an IP rating alone does not establish suitability for submersion |
| High-CRI white tape | Food preparation, display lighting, and other areas where color appearance matters | Commonly 12 V or 24 V DC; select the supply based on the tape’s rated load | White light; look for a stated CRI value, with CRI 90+ commonly selected where accurate color rendering is desired | Varies by product; choose for the installation environment | Can render colors more faithfully than lower-CRI alternatives when the published rating is reliable | Check CRI, color temperature, output, and product documentation; CRI does not by itself indicate brightness or energy efficiency |
Selection note: Specifications vary between products, even within the same tape-light category. Confirm the manufacturer’s data sheet for voltage, watts per metre, maximum run length, cut interval, IP rating, CRI, and controller requirements. Size the power supply for the full connected load and follow the product’s installation instructions.
Choosing the best LED tape light starts before you compare brightness. Check the color temperature, measured in Kelvin, and match it to the room. Warm white suits bedrooms, while neutral white works well above kitchen counters. Look for the correct voltage, wattage, and strip length. A power supply with extra capacity usually runs cooler and lasts longer. Do not ignore the IP rating. It matters near sinks, bathrooms, and outdoor areas.
Measure the installation surface twice. Dust, grease, and uneven paint can weaken the adhesive. I have found that cleaning with isopropyl alcohol improves grip, but the surface must dry completely. Cut only on marked lines. Connectors can save time, although some create visible dark spots or loose contacts. Test the full strip before mounting it permanently. This small step prevents frustrating rework. Heat also matters. Long runs may need aluminum channels to reduce heat and keep the light evenly diffused. Perfect results are not guaranteed.
Tips: Check brightness in lumens, not only wattage. Hide the power supply where air can circulate. Avoid sharp bends. Leave enough cable for service later. A dimmer should match the strip’s voltage and load. If the tape looks uneven, the spacing may be wrong. That is easy to miss. Rescue it with a diffuser or closer mounting points.